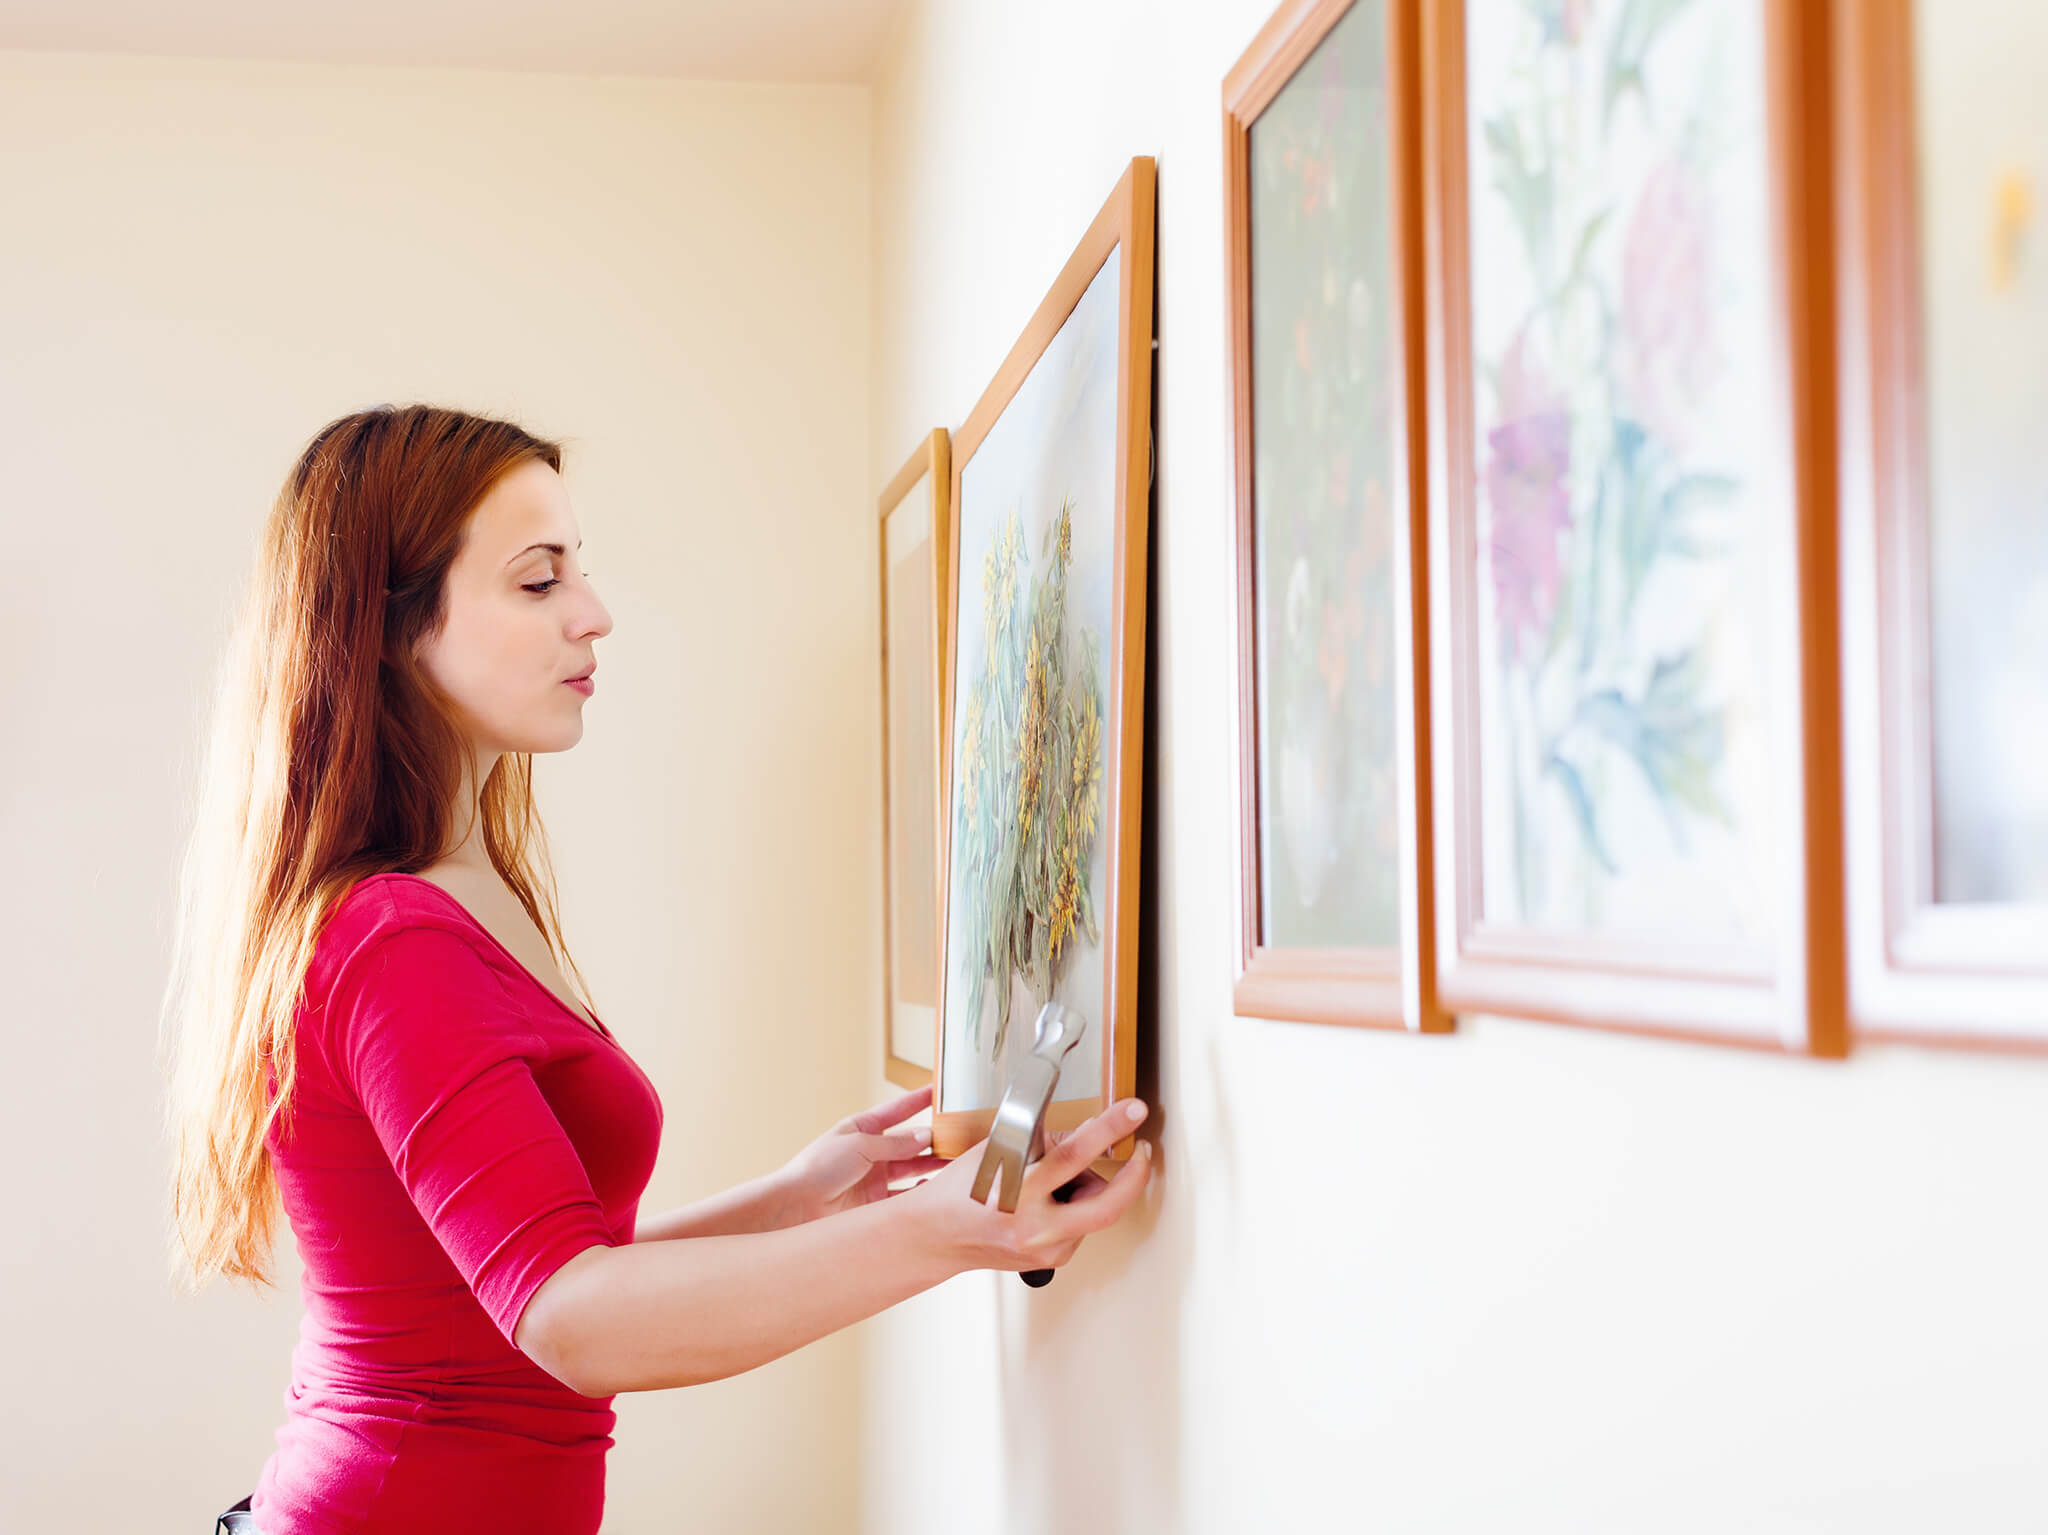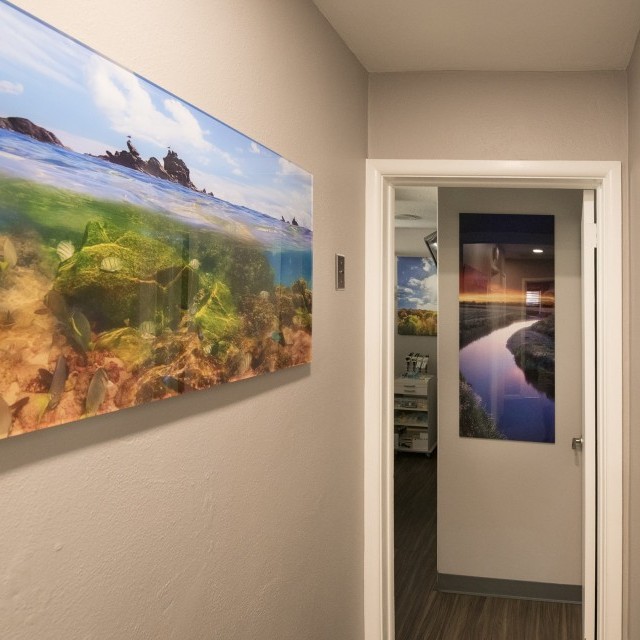
Figuring out how to hang multiple pictures together can be a little overwhelming.
With these tips, however, you can make short order of the mission and transform your space with a stunning group of wall art.
Test ideas by laying the group of multiple pictures out on the floor first.
Even better, lay them out on large paper on the floor, and when the magical arrangement is made, you can simply trace around them and mount the paper to the wall as a perfect guide so hanging multiple pictures, one-by-one, will be easy. Also, If you have boundaries you need to adhere to on the wall, make sure to lay out borders using yardsticks or whatever you can find to understand what ideas can work to conform to the width of blank wall space you have.
Don’t overdo it.
Many times groupings just go too far, with too many pieces, styles, colors, and subjects. Pick your absolute favorites and stick to those. Try to make them share something in common, even if it is subtle.
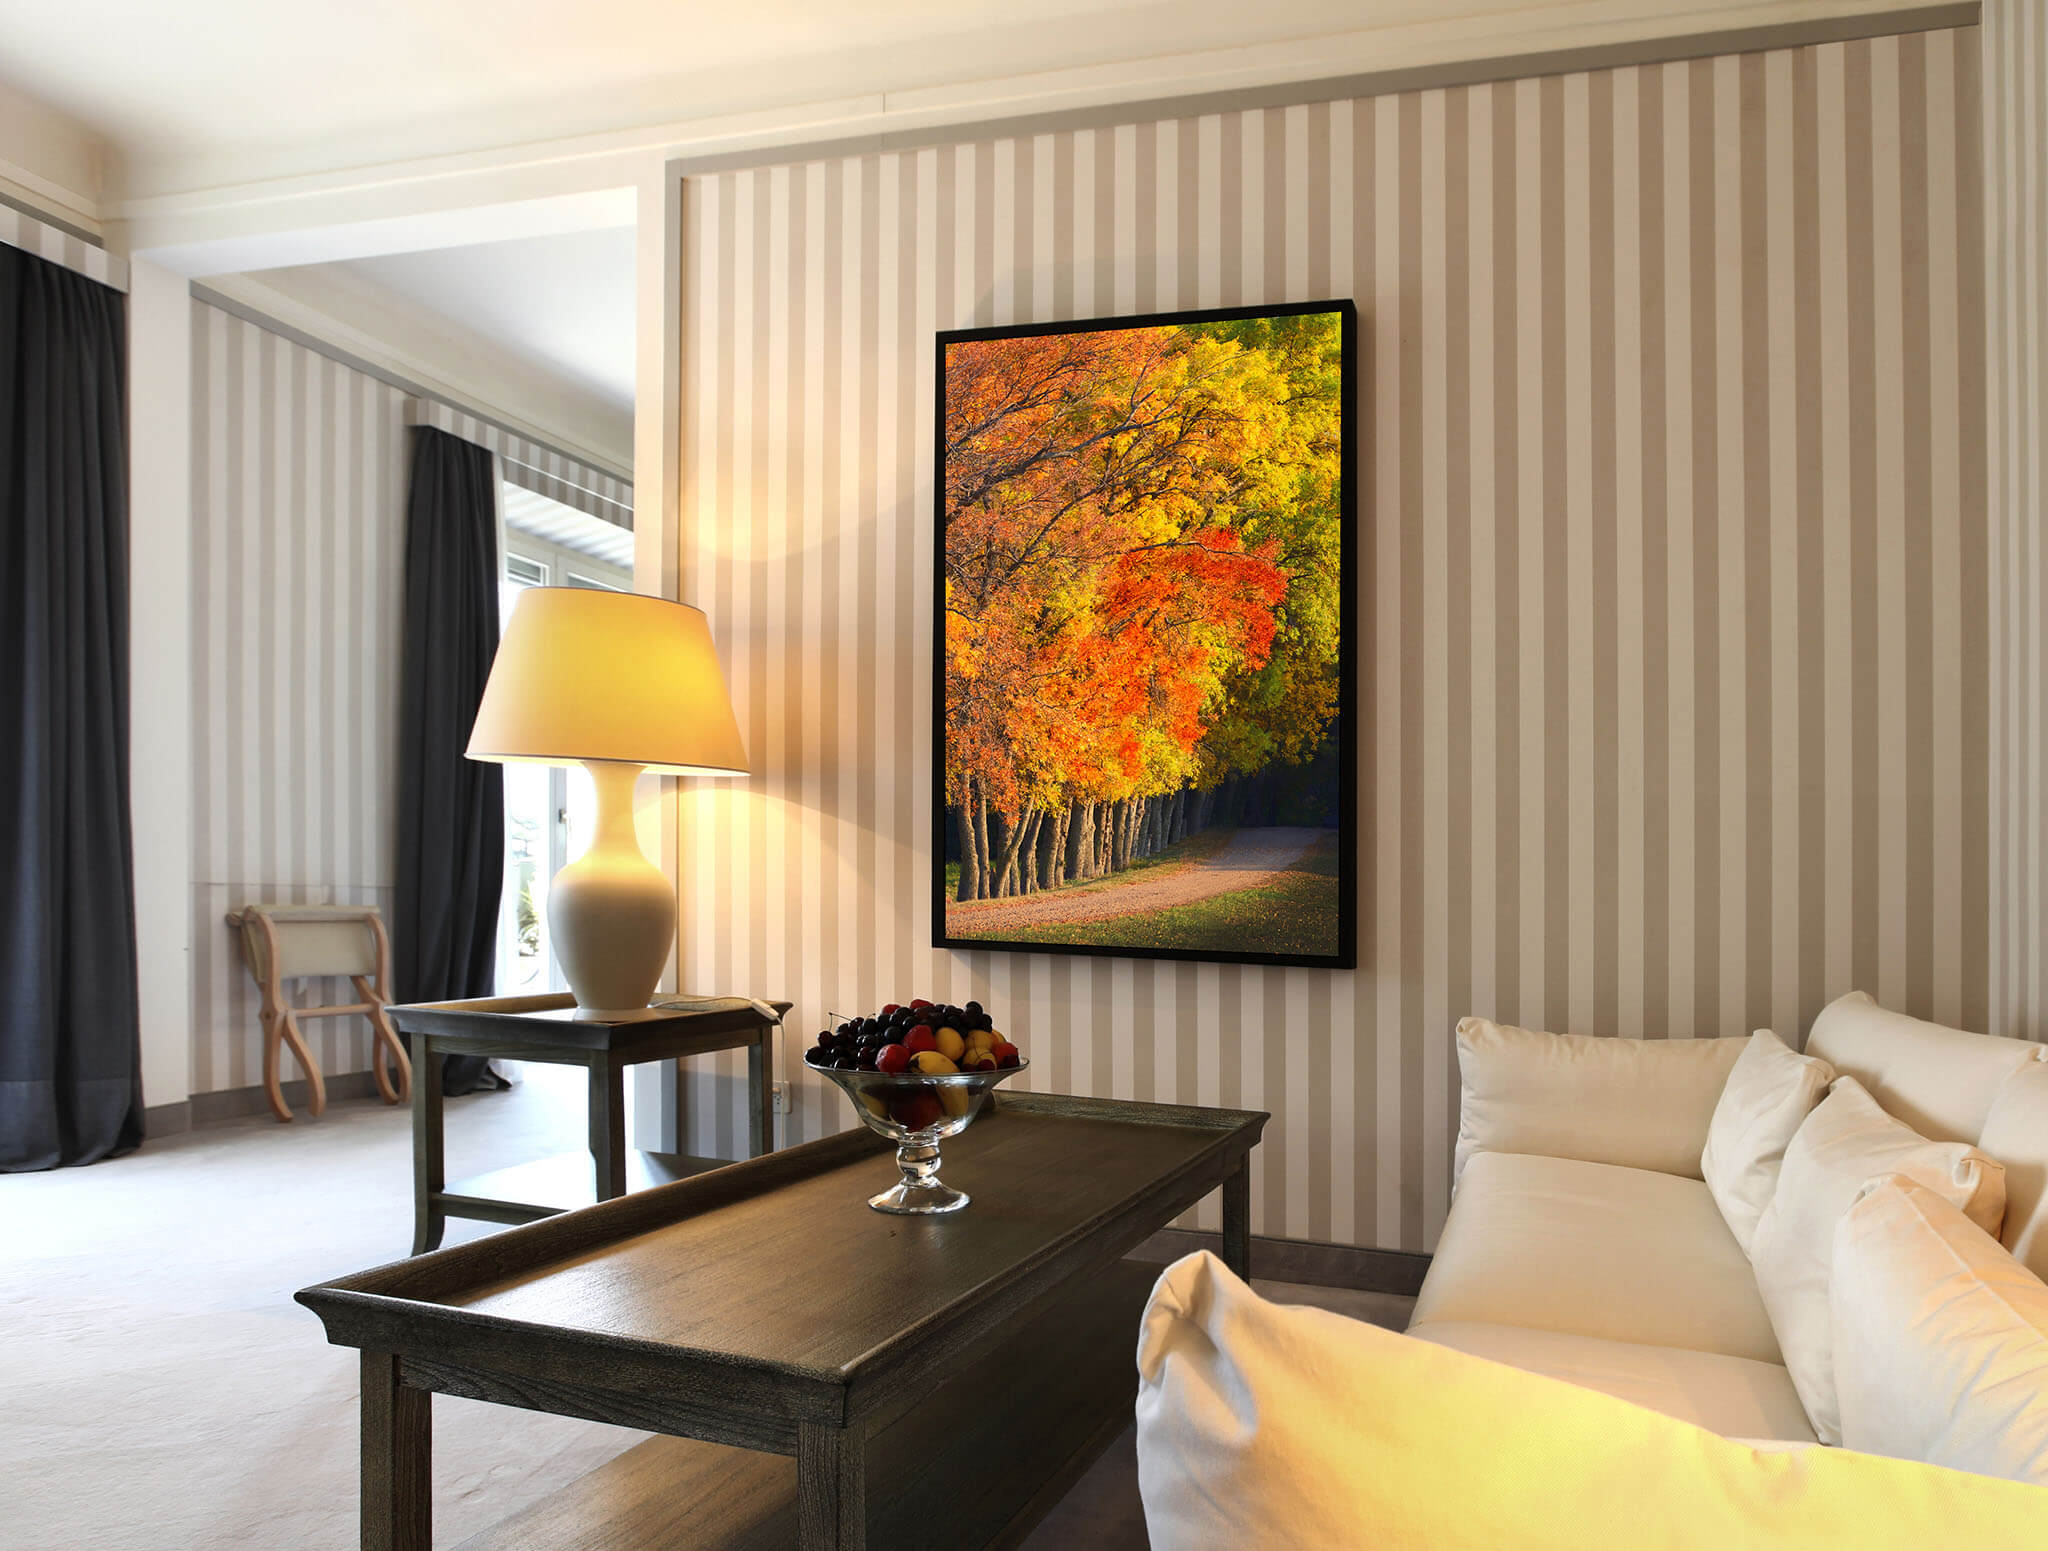
Decide your intended formality.
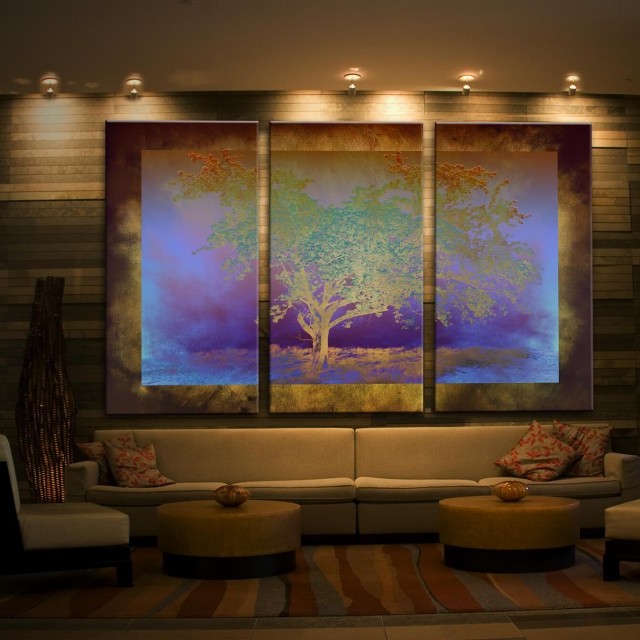
Generally speaking, if you hang several pieces horizontally, lining them up perfectly will add a sense of formality, while offsetting them a bit will make the room more casual. Symmetrical wall art groups tend to be a bit more formal and seem to be more pleasing and calming to look at. I almost always recommend symmetrical arrangements. If you’re feeling a little bit more daring, choose an asymmetrical wall art group to create a sense of mystery.
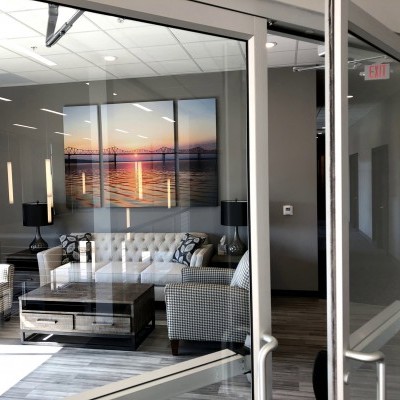
Art lined up perfectly makes for a more formal artwork arrangement and setting.
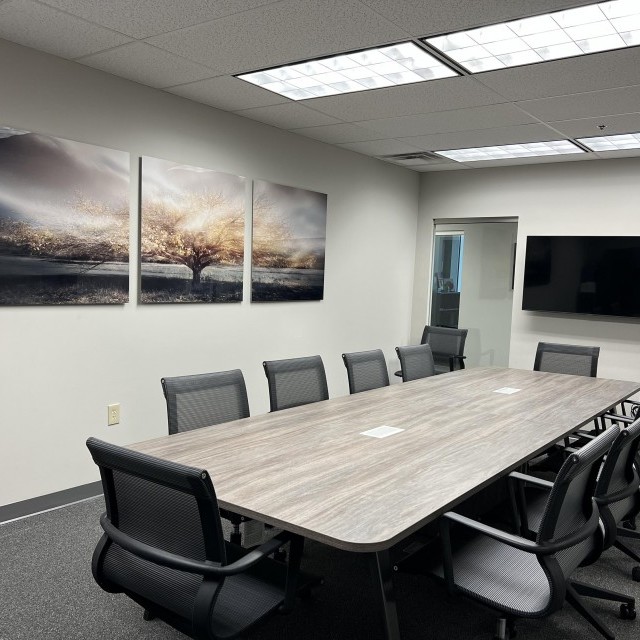
Art arrangements that are not lined up but are symmetrical add a hint of formality.
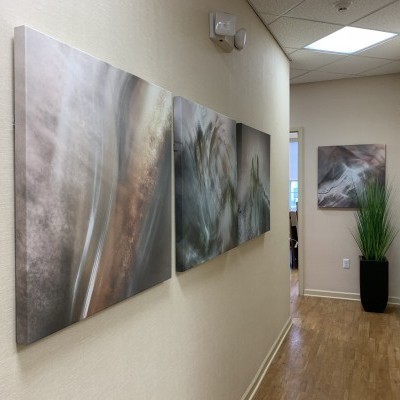
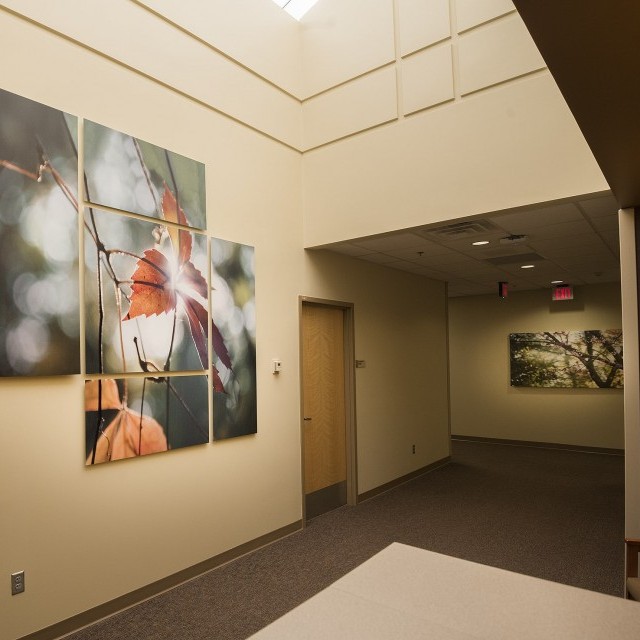
Hanging multiple artworks together in non-symmetrical fashion gives a casual feeling.
Small artworks need friends.
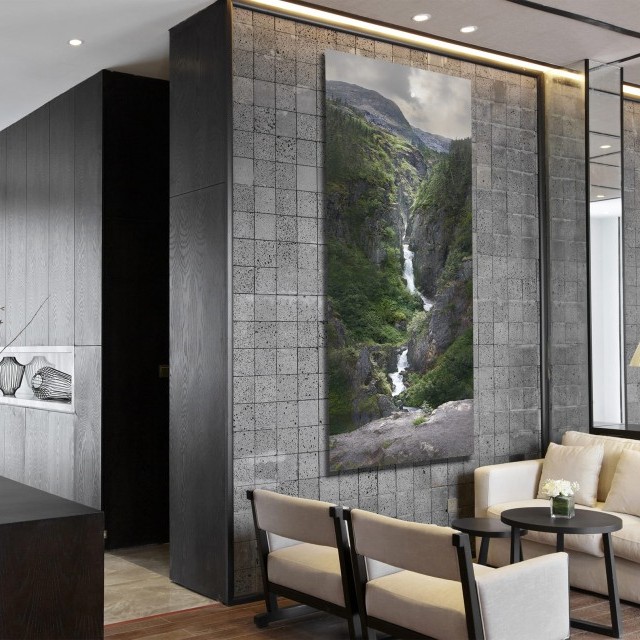
Small wall art pictures tend to look better when they are grouped, so if you have one smaller artwork, try to find some others to go with it. If you do hang it alone, just make sure it’s not in a sea of bare wall space.
